Monday, March 28, 2011

Sneak Peek!

Are you guys ready to see the NEW Made by Jewls Spring Line of earrings? Get excited, because these are SUPER cute! Most of them are spring-ish but a couple are not, which is ok because I still like to wear black and red no matter what season it is. So here you go!


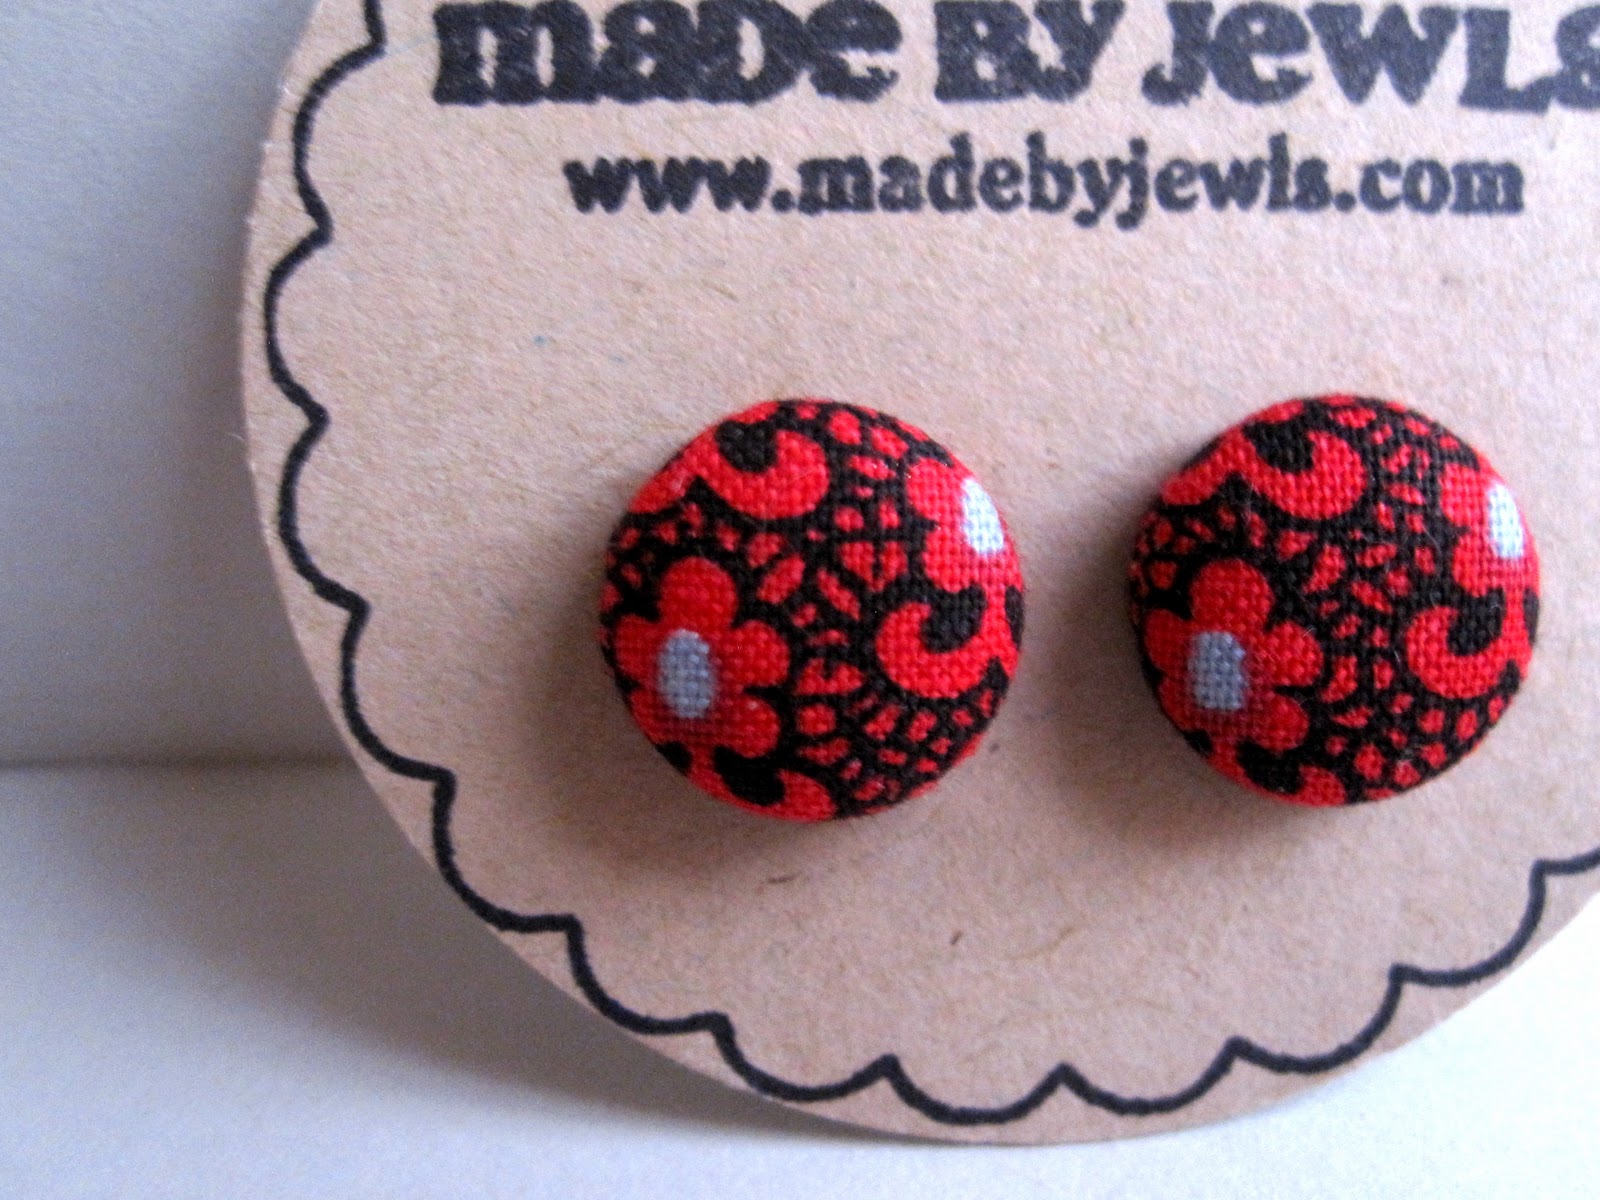
I wore these adorable red and black earrings today. Aren't they cute?

 I love love love these earrings. They are so pretty!

 And how could I not add another pair of mustard colored earrings to my shop. I love this print!
 Another favorite of mine. These are perfect for spring!

Aren't these adorable?

 Now the stripes collection...


I also have another blue and white stripe that I'll be adding to my shop because I'm almost out of the fabric for the Nautical Stripe earrings. The new fabric is really, really close to the other one, so I don't think updating it will be a big deal. 

 I needed more cute black earrings and these are pretty awesome

delicate white floral

I needed more brown earrings and these were perfect! I can't get over how cool they look!

and finally, these adorable dark blue earrings with purple daisies

So what do you guys think? Which ones are your favorites? Have you checked out the giveaways that I do on my facebook fan page? I'm giving away a pair of each of these earrings if you help me name them! Some of the giveaways have already passed, but you should still head on over and help me name the others!

Sunday, March 20, 2011

So adorable!

I am absolutely in love with this sweet kitty. Isn't he cute?! How can you not melt when you see this picture? :) I hope you're all having a great weekend! I've spent mine being sick with a nasty cold so I think I'm going to go to bed early and snuggle with this little guy...

P.S. I'll be giving you guys a sneak peek at my new spring line this next week, get excited!

Thursday, March 10, 2011

The quest to redecorate my house

Have you guys heard of CSN? I hadn't until about a year ago and since then, I've been bookmarking things from their website like crazy! I can't believe the great selection of products they have! I could totally furnish every room in my house with things from them, including my home office. Good office desks are so hard to find, but they have quite a few to pick from and I need a new one. I love this one, what do you think?

I can't just look at furniture for my home office though, here are a few of my other favorites...
 

 I want a set of these tree plates! I love love LOVE them!


this magazine holder is pretty amazing


okay, this needs to be in my kitchen :)


and I'm dying to get this clock for our bedroom, isn't it awesome?!

Wednesday, March 9, 2011

My Latest Obsession...


Now that the weather is getting a little warmer, I've been seeing people out riding bikes and I want one! Isn't this bike beautiful? I'm in love!

What are you looking forward to doing this spring?

Monday, March 7, 2011

a guest post from dresdencarrie

Hello all you fun crafters! I'm so excited to be here on Made By Jewls, what a fun blog!
I'm Dresden from dresdencarrie.
I love to sew, make things for our cute little apartment, design, share tutorials through blogging and spend time with my wonderful husband.
I work full time for Silhouette America and absolutely love my job. It gives me a chance to use my Graphic Design education and also to be crafty and think of new ideas for products at Silhouette.

Today I have a Mod-Podged Canvas Tutorial to share with you. I hope you enjoy!

Items needed for this tutorial:
- canvas or piece of wood
- old book paper
- mod podge
- vinyl phrase
- transfer paper
- sponge brush

I had this old canvas from a project I started a year ago that didn't work out and finally just recently got around to doing something with it.

 Mod Podge old book paper on the entire canvas or piece of wood by painting a layer under the paper and another layer on top of it. I got this book at a local thrift store for 75 cents, quite a bargain!

Cut your phrase our of vinyl, I used the Silhouette SD, or buy a phrase from one of many vinyl wording stores. Peel away the negative space and stick your transfer paper on top of the words. Peel the paper backing off the vinyl.

Place the phrase where you want it on your canvas and scrap it down good. Peel the transfer tape off the canvas to reveal your beautiful piece! I mod-podged over the vinyl wording just to make sure it stayed on and I also added a small banner of hearts that I cut out with the Silhouette.

And there you have it...your finished product!
This same tutorial can be used in so many different applications. I hope you enjoy!


Check out my blog for other fun tutorials

Many thanks to Made by Jewls, it's been a pleasure guest posting!!